
1. Ensure a Stable Internet Connection
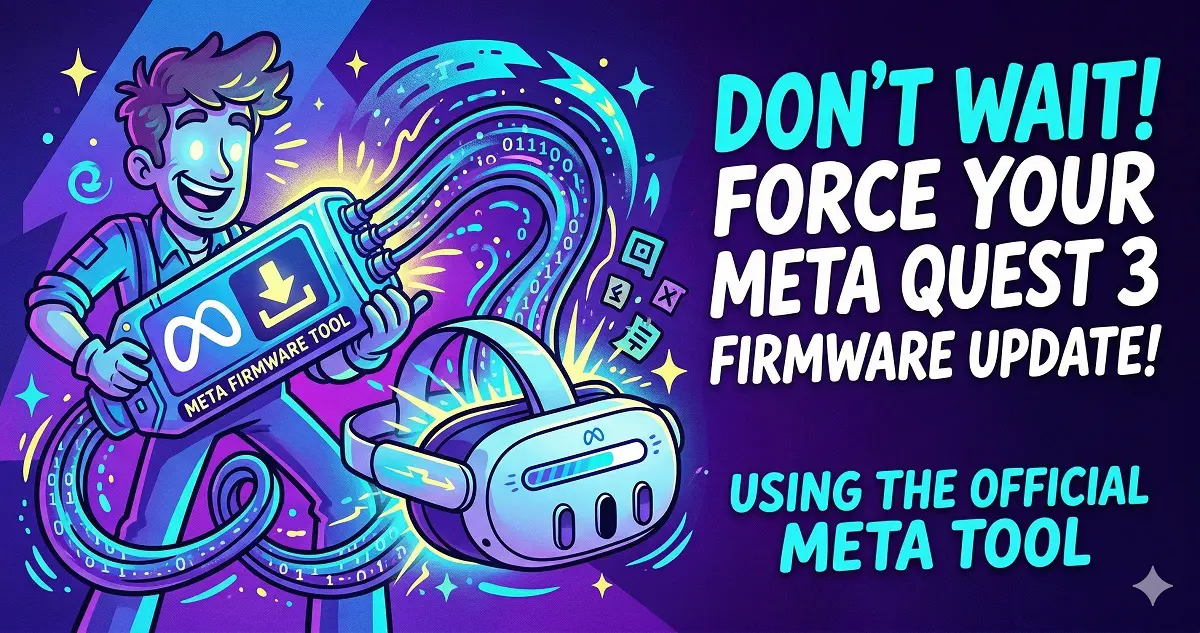
2. Navigate to the official Meta Quest Software Update Tool.
3. Select your device model from the provided list.

4. Back up your data if necessary.
5. Following the Quest 3 guide, power off your headset and click the “Continue” button on the webpage.

6. Initiate the firmware flash.
I. Put on the headset and make sure it is completely powered off. Hold down the Power and Volume Down buttons simultaneously until the Meta logo appears. Once it does, release both buttons. You should now be at the boot menu screen.
II. Select “Sideload update”.
On the boot menu, use the Volume buttons to highlight Sideload update. Press the Power button to confirm. Once selected, remove the headset.
III. Connect your device.
Connect the headset to your computer using a reliable USB-C cable. Click the “Connect Device” button on the webpage. Select your headset from the browser pop-up window and click Connect.

7. Click “Start Download” to begin the firmware update.

Notes:
- You must be logged into Meta.com and have your region set to the United States (you do not need a US-based account; just the region setting is sufficient).
- This process is non-destructive; it will not reset your headset, and all your applications, files, and data will remain intact.
- Ensure your computer has at least 2GB of free storage space. We strongly recommend using the original USB-C cable for a stable connection.