
Introduction:
Installing Windows 10 or 11 can often feel like a tedious gauntlet of repetitive setup screens. While Microsoft provides official ISOs, there is a much better way to handle the process. Have you ever considered using an “answer file”? These files don’t just tweak image settings; they automate configurations throughout the entire installation lifecycle. Today, we’ll dive into how you can use answer files to create a fully customized Windows installation media tailored to your exact needs.
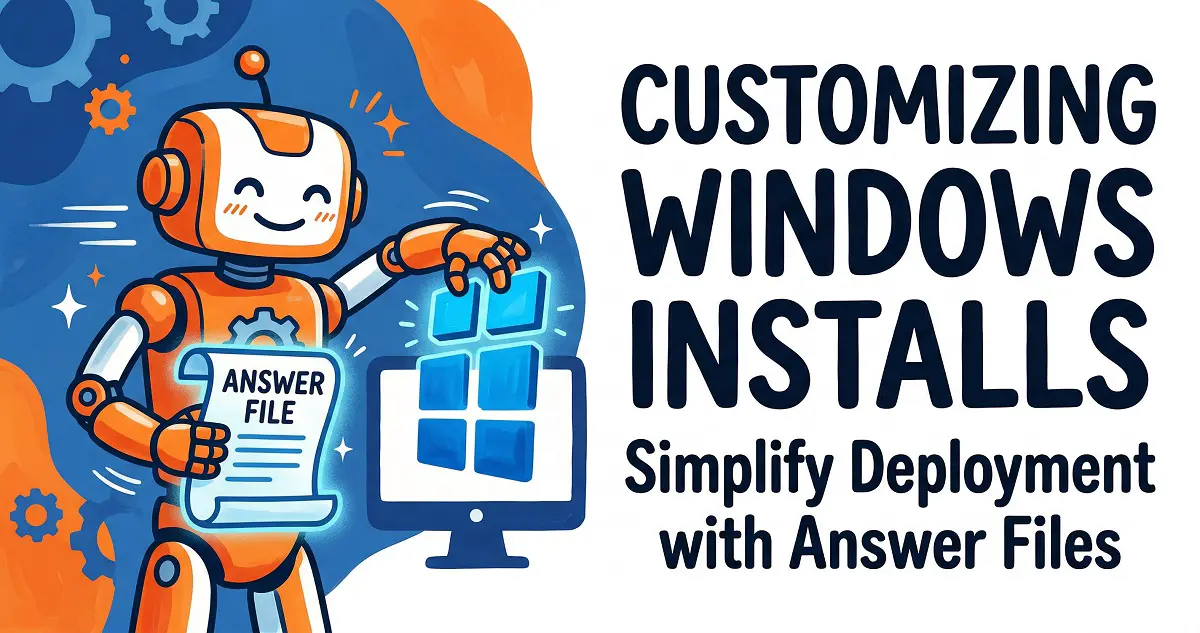
What is an Answer File?
An answer file is an XML configuration document, typically named autounattend.xml. It contains the specific parameters needed during the Windows setup process. By leveraging an answer file, you can:
- Bypass hardware requirements (like TPM or Secure Boot)
- Automatically create local user accounts
- Pre-define locale, language, and regional settings
- Automate install choices to skip manual prompts
This method is completely legitimate and has been a staple in enterprise IT environments for years to streamline mass deployments.
Steps to Create Your Answer File
Step 1: Use an Online Generator
The easiest way to build your configuration is by using the Windows Unattend Generator. This tool provides a clean, user-friendly interface to generate your autounattend.xml file without manually writing XML code.
Step 2: Configure Your Settings
- Regional and Language Settings:
- Select your UI language to match your downloaded Windows ISO.
- Set your preferred date, time, and currency formats.
- Define your keyboard layout and region.

- CPU Architecture:
- Select Intel/AMD 64-bit.
- Bypass Installation Restrictions:
- Enable the bypass for TPM and Secure Boot requirements.
- Optionally allow for offline installation without requiring a Microsoft account.

- Computer Name:
- Let Windows auto-generate a name or set a custom one (e.g., MyPC).
- Time Zone:
- Choose auto-detection or specify your time zone manually.
- Disk Partitioning:
- Select the option to have the Windows installer handle partitioning automatically.
- Windows Edition:

- Use a generic product key or input your own during the install.
- User Account Settings:
- Set your local username and password here.

- System Optimization:
- Optionally disable Windows Defender, set password expiration policies, or configure account lockouts.
- Wi-Fi Settings:
- Skip Wi-Fi configuration or pre-configure your network details.
- Bloatware Removal:
- Select and remove unwanted built-in Windows apps.

Once you’ve finalized your settings, click the download button to save your autounattend.xml file.

Step 3: Edit the Answer File
If you have specific language requirements, open the autounattend.xml in any text editor and double-check the UILanguage element to ensure it matches your deployment needs.
Step 4: Integrate into the ISO
Use an ISO editing tool like AnyBurn (Download here) to open your Windows ISO, inject the autounattend.xml file into the root directory, and save it as a new, modified ISO.
Step 5: Install Windows
Boot your VM or physical machine from the new ISO. The installer will automatically pull from your answer file, skipping unnecessary prompts, bypassing account requirements, and setting up your local user for you.
Conclusion
Using an answer file is a game-changer for Windows deployments, saving you significant time and effort. Whether you’re a power user or managing a home lab, this method makes the OS setup experience much smoother. Hopefully, this guide helps you streamline your next Windows install! Feel free to share your thoughts in the comments below.