
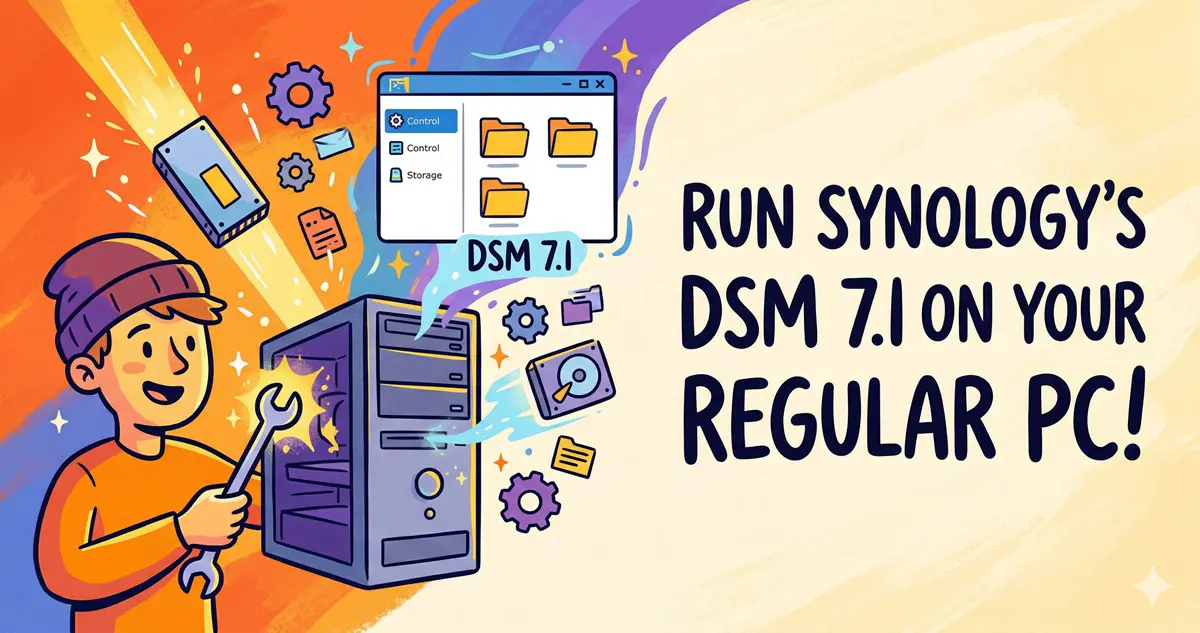
Introduction:
There are countless tutorials online for setting up Xpenology (a custom bootloader for Synology’s DSM) on 7.x. However, many are needlessly complex and require a fair bit of technical troubleshooting. In this guide, I’ll show you what is currently the most straightforward way to get DSM 7.1 up and running. Let’s dive in!
The Process:
1. Prepare a USB drive with at least 8GB of storage. Note that the drive will be wiped, so back up any important data first.
2. Download the ARPL loader by fbelavenuto and the disk writing utility.
You can find the ARPL GitHub repository here: https://github.com/fbelavenuto/arpl/releases
For standard PC builds, download the first file in the list.

Rufus disk writing tool: http://rufus.ie/en/. Choose the version that matches your OS.
3. Extract the downloaded ARPL file, plug in your USB drive, and use Rufus to write the arpl.img file to it. Again, ensure the USB drive has no critical data on it before starting. See the image below:

4. Once the write process is complete, remove the USB drive and insert it into the machine you intend to use as your NAS. Modify the BIOS settings to prioritize booting from the USB. You don’t need to have your storage drives connected yet, but make sure the Ethernet cable is plugged in.
5. If the system boots successfully from the USB, you’ll see the console outputting boot logs. Once finished, it will display an IP address and port number. Make a note of this address, as you’ll need to open it in a web browser from another computer on the same network.

6. You should see the following interface in your browser:

7. Select the first option and press Enter. Choose your desired Synology model (DS918+ or DS3615xs are both great). I recommend the DS918+ if your hardware supports it.

8. After selecting the model, return to the main menu and select the second option to choose your DSM version. Using the latest available version is recommended.


9. After setting the version, return to the main menu and select the third option. You’ll have a choice to auto-generate a serial number or enter one manually. If you don’t have one, just select the auto-generate option.

10. Back at the main menu: if you are using an Intel 10th-gen CPU or newer, select ‘Addons’ to install graphics drivers; otherwise, you can skip this. Then, select ‘Build the loader’ to compile your boot image. Wait patiently while it downloads and builds—this will depend on your network speed.
11. Once done, you will return to the main menu where ‘Build the loader’ is selected by default. Just press Enter to boot.

12. Upon booting, the screen will show the model and system version. Once you see the text “Booting…”, you’re ready to go.
13. You can now disconnect the display. Check your router’s DHCP client list; look for a device named “DiskStation.” Once found, open your browser and navigate to http://[Your-NAS-IP]:5000 to access the installation interface.

14. You should see the Synology installation page. Follow the prompts (Connect -> Agree -> Next -> Install). Select the option to download the system image directly from Synology’s servers. Ensure you download the version corresponding to the specific model you selected earlier (usually ~300MB).

15. Once the download finishes, select the image file and click Next. Caution: Any storage drives connected will be formatted. Wait for the installation to finish.
16. The NAS will reboot. Access it again via http://[Your-NAS-IP]:5000. If you see the login screen, congratulations! You’ve successfully installed the latest version of Synology DSM on your own hardware.

Conclusion:
While the steps might seem long, the process is actually quite simple. Take your time, and you shouldn’t have any issues. If time permits, I’ll follow up with a guide on basic NAS usage. Happy hacking!