
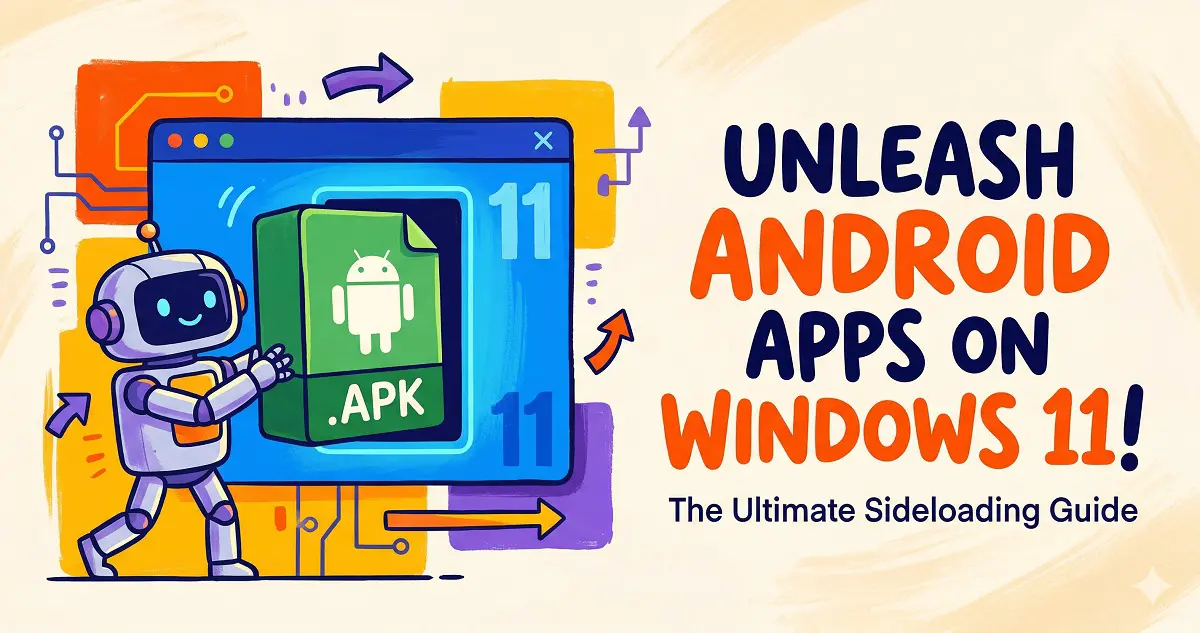
Introduction:
The Windows Subsystem for Android (WSA) is one of the most exciting features in Windows 11. It allows you to run Android apps and games directly on your PC without the overhead of third-party emulators or virtual machines. It’s snappy, well-integrated, and delivers impressive performance. If you’re ready to supercharge your workflow with mobile apps, let’s dive into the setup process.
1. Change your Region to United States

2. Enable Virtualization Features
Go to Settings > Apps > Optional features > More Windows features. Check the boxes for Hyper-V and Virtual Machine Platform. Click OK to install them. If you have already enabled these, you can skip this step.

3. Install Amazon Appstore
Open the Microsoft Store, search for “Android,” and find the Amazon Appstore. Install it as prompted (you will need a Microsoft account). Wait patiently for the installation to finish.

4. Launch and Prepare
Click Open—you don’t necessarily need to sign in just yet. The subsystem is now active.
5. Enable Developer Mode
Open the Start menu and launch Windows Subsystem for Android Settings. Go to the Advanced settings tab and enable Developer mode. Once activated, you will see an IP address and port number displayed. Keep note of these.

6. Get ADB and Your APKs
Download the Android Debug Bridge (ADB) tools and the APK files you wish to install (e.g., the APKPure installer). I will provide the necessary files in the cloud storage link below.
7. Connect via ADB
Open your command prompt (CMD), navigate to your ADB directory, and run: adb connect 127.0.0.1:58526 (replace the port with the one shown in your developer settings). A prompt will appear in Windows; check “Always allow” and click Allow. You should see a confirmation message: “already connected to 127.0.0.1:XXXXX”.
8. Install the APK
Once connected, run the following command: adb install path/to/your/app.apk. If it displays “Success,” you are good to go!

9. Launch Your App
You will now see your newly installed app in the Windows 11 Start Menu. Click it to run it natively. With an app store like APKPure installed, adding more apps becomes a breeze.

Conclusion:
WSA is currently the highest-performing, most up-to-date Android experience on Windows (with updates frequently bringing the latest Android versions, such as Android 13). While some apps may face minor compatibility quirks, it remains the best way to bridge the mobile-desktop gap. If you run into issues, feel free to drop a comment below. Thanks for reading!